Help & Documentation
Everything you need to know about ConcreteInfo — from your first mix design to advanced QAQC workflows.
Getting Started Start
Sign in, verify your email, complete your profile, and you are on the dashboard. Everything downstream — designs, batches, tests, reports — flows from this one setup.
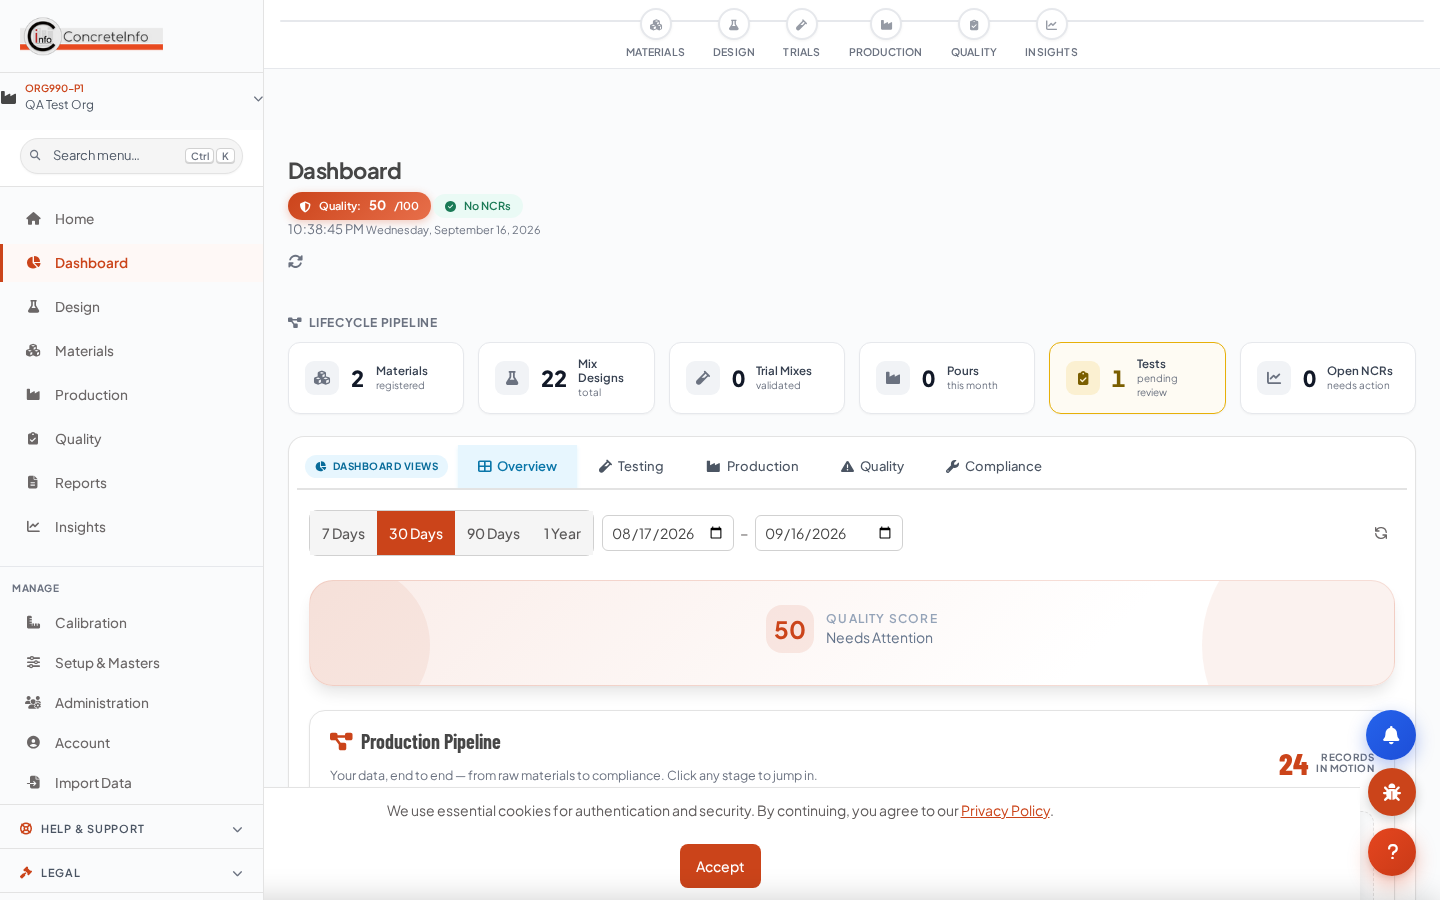
- Sign in with email + password, or Continue with Google / LinkedIn.
- Verify your email — the verification link in your welcome mail is mandatory; the app blocks everything else until done.
- Complete your profile — phone, organisation, designation, country. This gate cannot be skipped the first time.
- Your plant and organisation context is set automatically; switch plants from the header if you manage several.
Your Plan & Plants Start
Solo (1 plant), Growth (2–4 plants) and Enterprise (5+) plans are per user per month + GST. Annual billing gives 12 months for the price of 10.
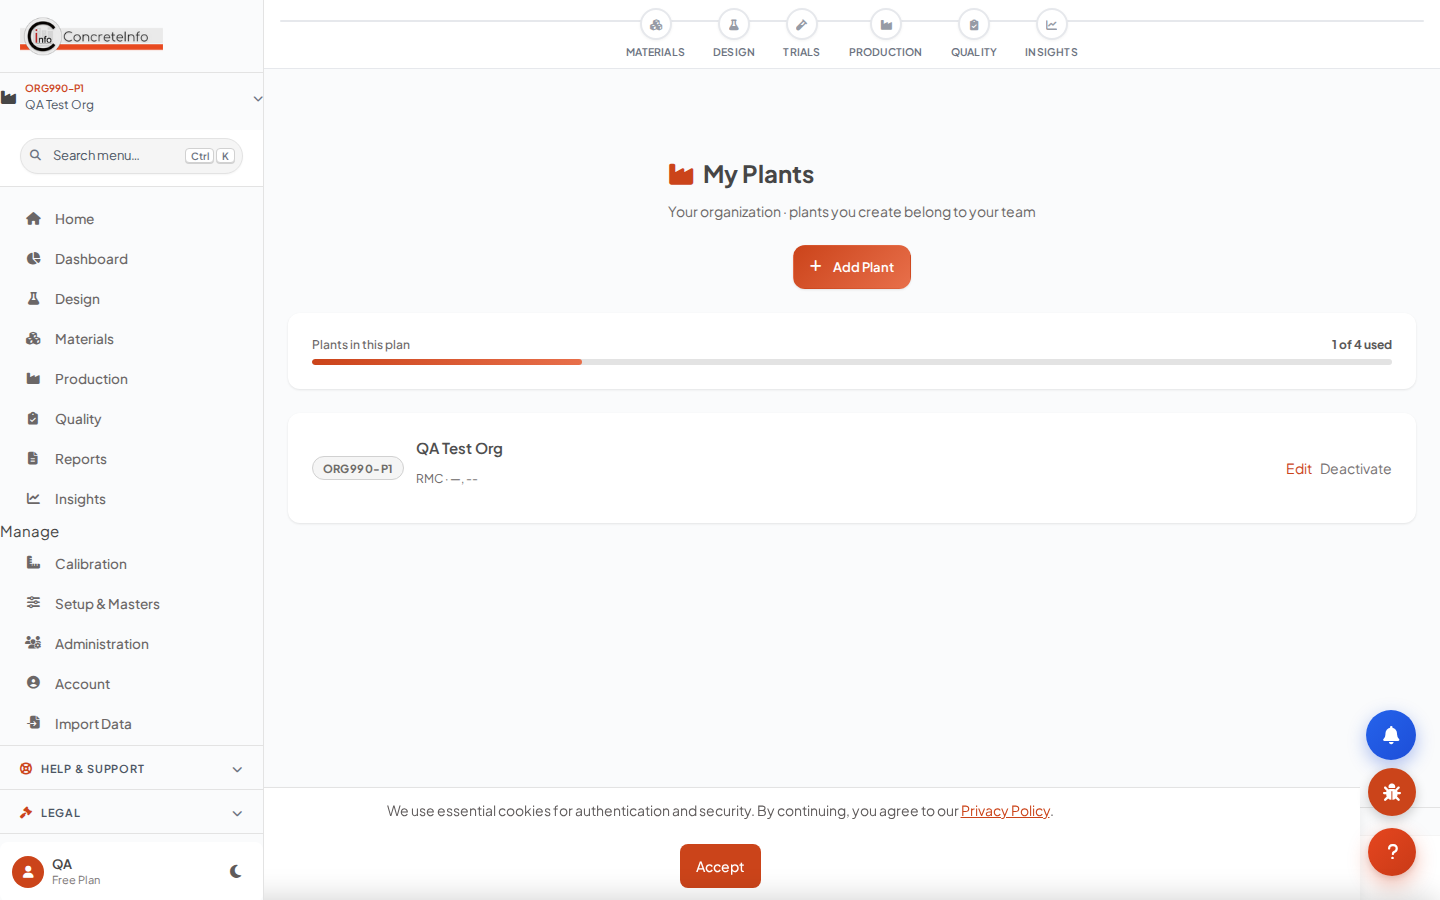
- Open My Plants (sidebar → Setup) to see your plant tree and tier meter.
- Click Add Plant, fill name/code/location — a default plant is provisioned automatically on first subscription.
- At your tier limit the meter turns amber and the button becomes Upgrade.
| Plan | Plants | Monthly | Annual (pay 10, use 12) |
|---|---|---|---|
| Solo | 1 | ₹1,299 + GST | ₹12,990 + GST |
| Growth | 2–4 | ₹1,899 + GST | ₹18,990 + GST |
| Enterprise | 5+ | ₹2,799 + GST | ₹27,990 + GST |
Standard RMC Property Form (Spec Defaults) Start
Define the concrete specification once per plant / customer / project. Every calculator then pulls it automatically — grade, exposure, w/c limit, cement minimum, slump, aggregate size.
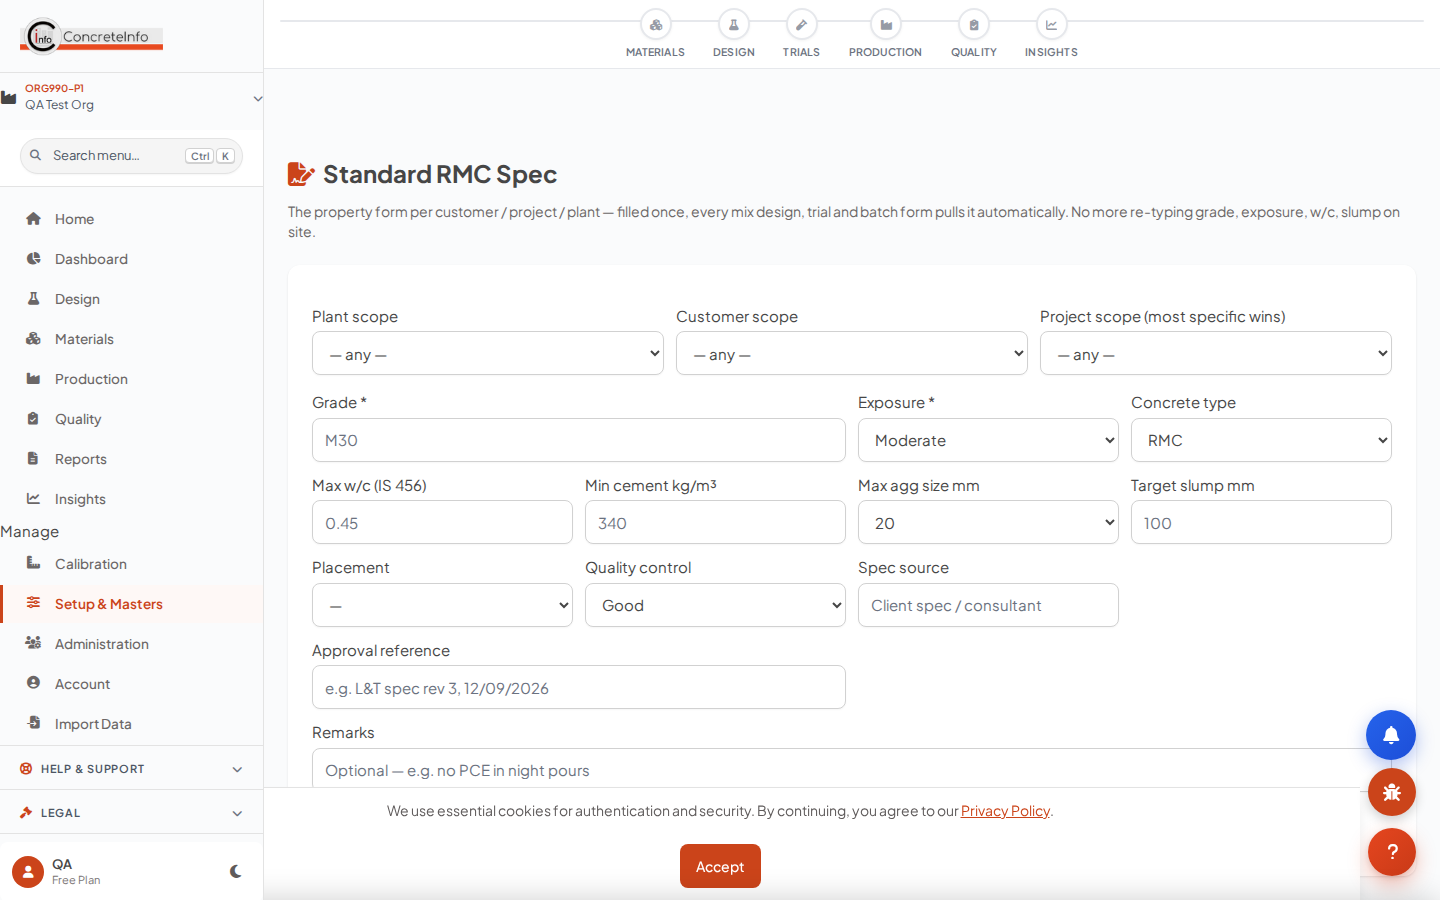
- Open RMC Spec (sidebar → Setup). Choose scope: a specific project, a customer, or plant-wide.
- Tap Fill from IS 456 — Table 5 durability limits (max w/c, min cement) load from the exposure condition.
- Save. The chip in every calculator confirms what was pulled, with an edit spec link.
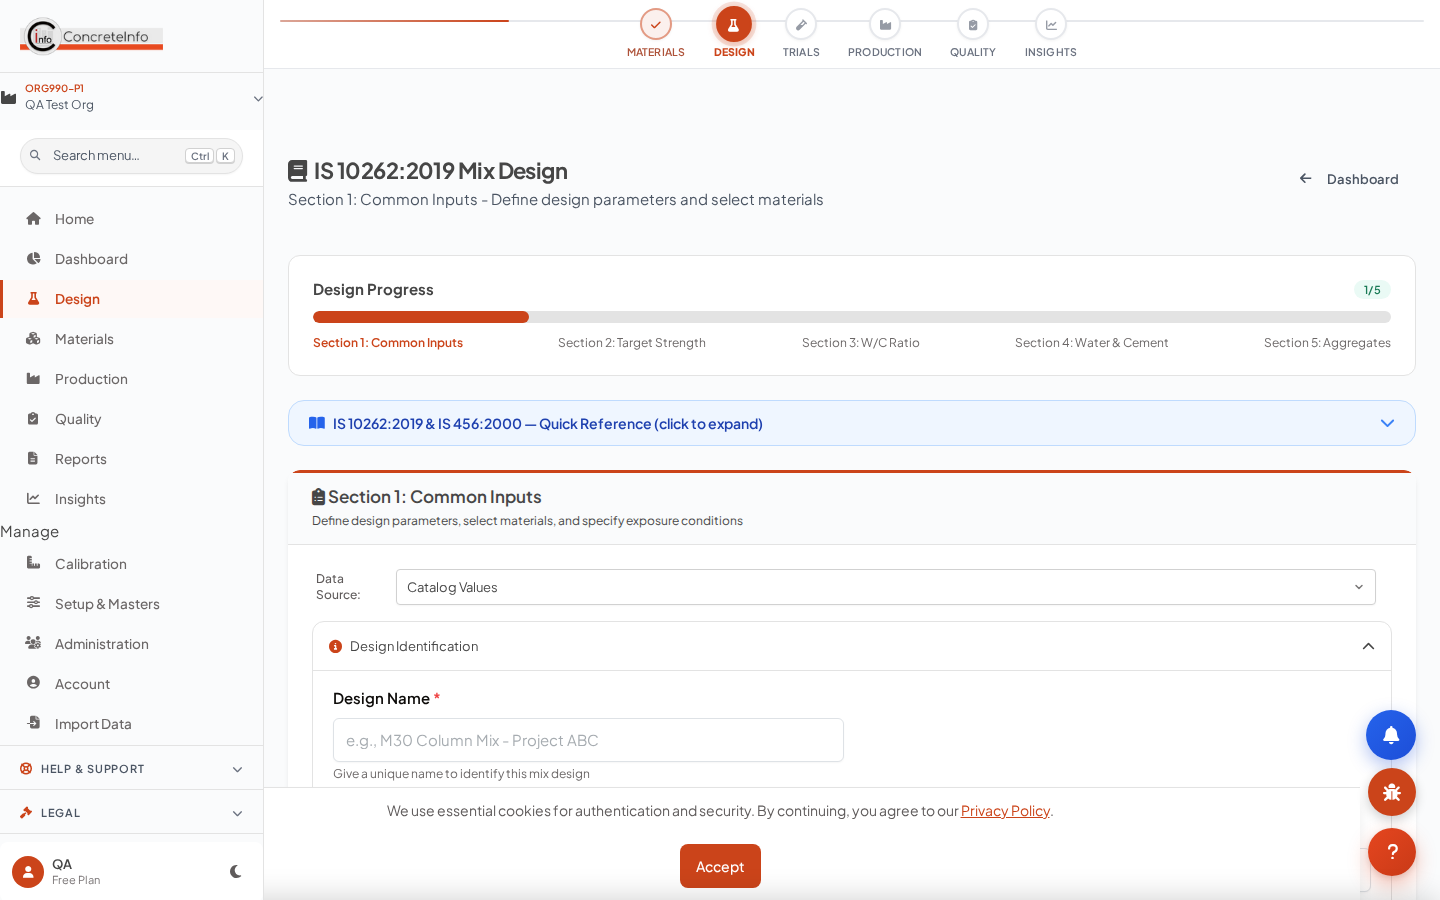
Creating a Mix Design — IS 10262 Five-Section Flow Design
The primary design path (IS 10262:2019): Section 1 inputs, Sections 2–4 calculations, Section 5 final proportions — saved as a design you can trial, batch and pour against.
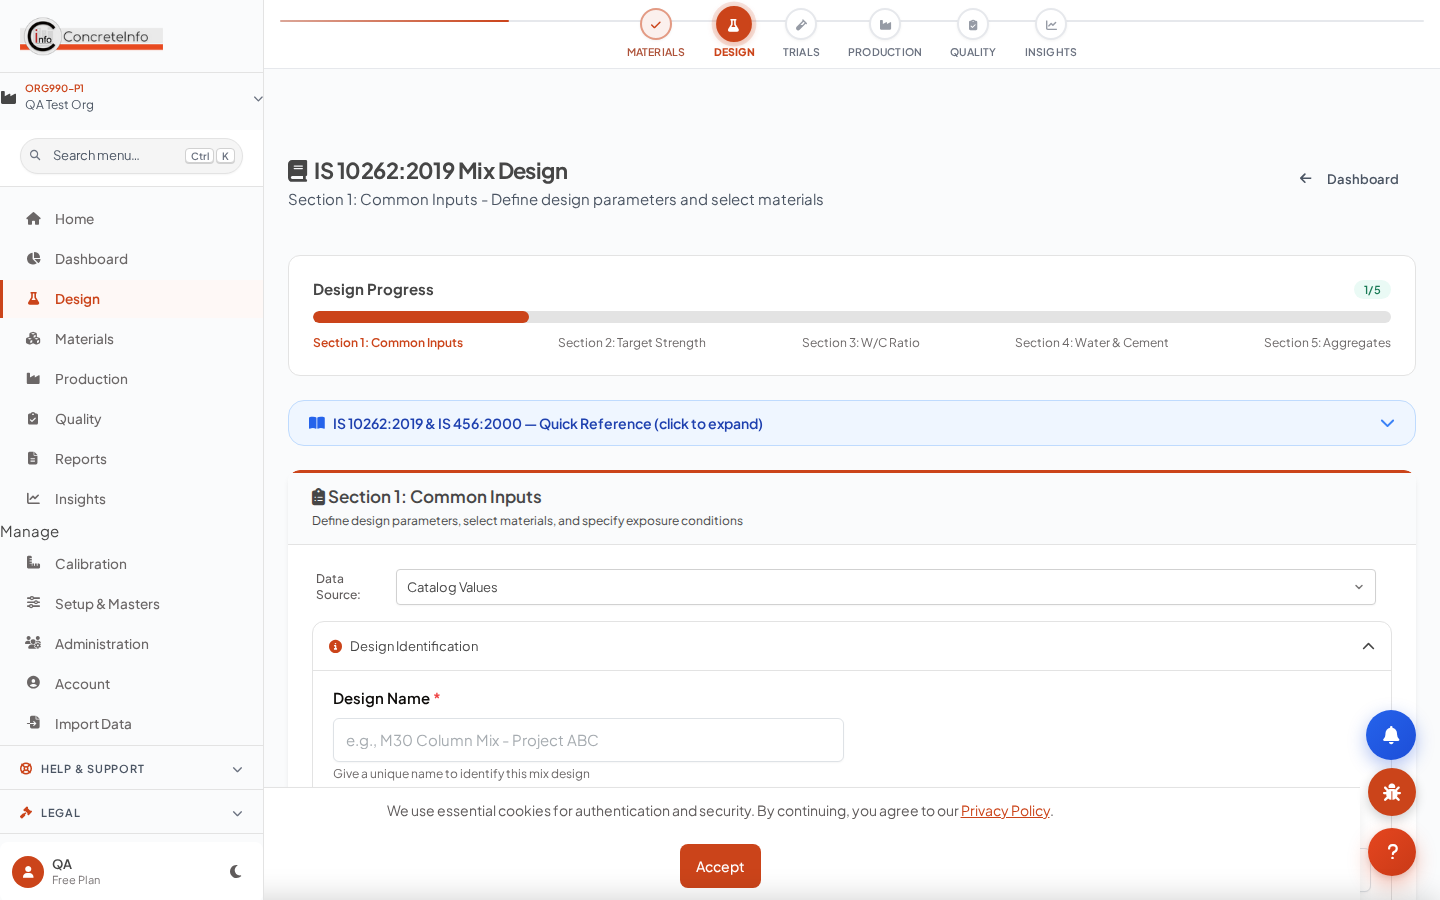
- Pick the client and project — the spec chip confirms the pulled specification.
- Enter target strength, exposure, aggregate sizes, admixtures; materials come from your library.
- Walk through Sections 2–5; each section carries forward automatically.
- Save — the design appears in My Designs with the client/project recorded.
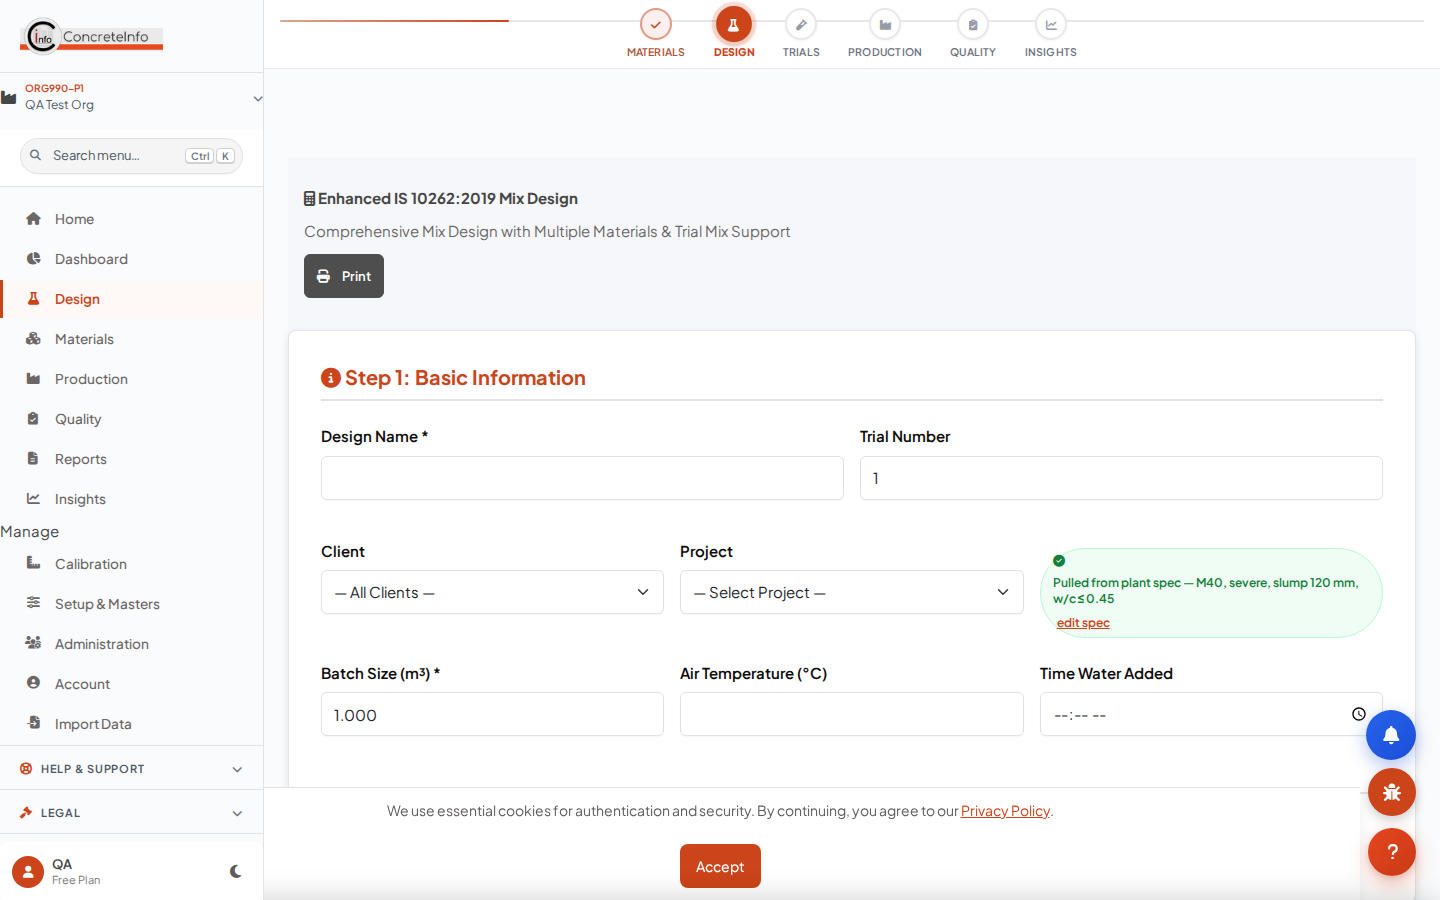
Other Calculators (ACI, BRMCA, EFNARC SCC, HSC, Enhanced IS 10262) Design
Every method is available on every paid plan. All of them auto-pull the RMC spec and save the customer/project with the design.
| Method | Best for | Spec pull |
|---|---|---|
| ACI 211.1 | US-practice mixes (psi inputs) | MPa → psi, mm → inch bands |
| BRMCA / DoE | UK-practice mixes | MPa cube → cylinder class (C25…C55) |
| EFNARC SCC | Self-compacting concrete | Target strength direct |
| HSC | M60–M100 high strength | Grade + slump + exposure |
| IS 10262 Enhanced | Full control, SCM blends, ice | Full parameter set |
Managing Your Designs Design
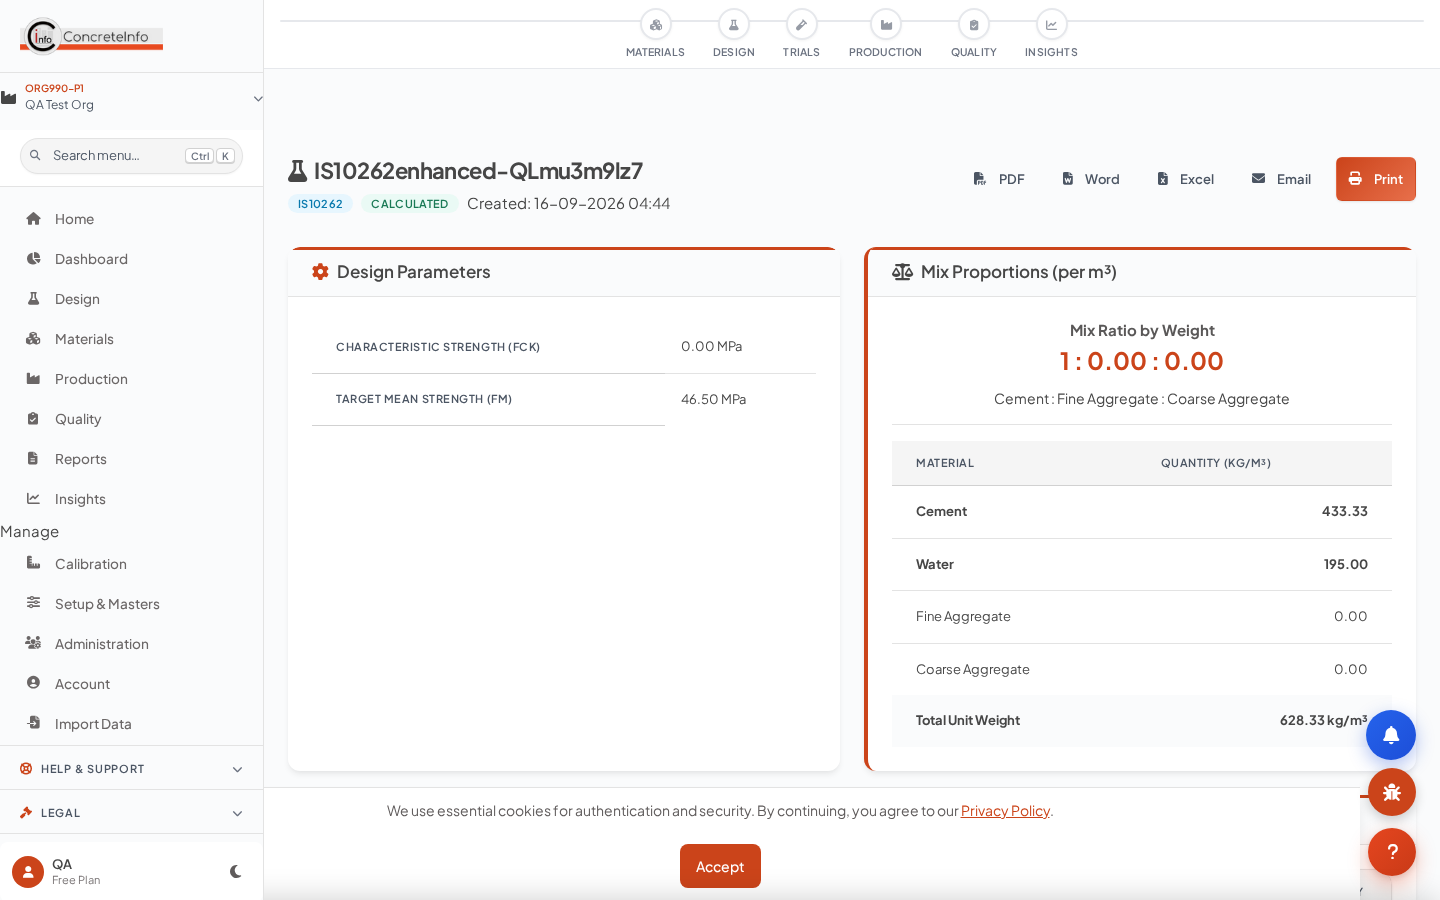
My Designs lists every design with its client and project; View Design shows the full proportions, materials and compliance.
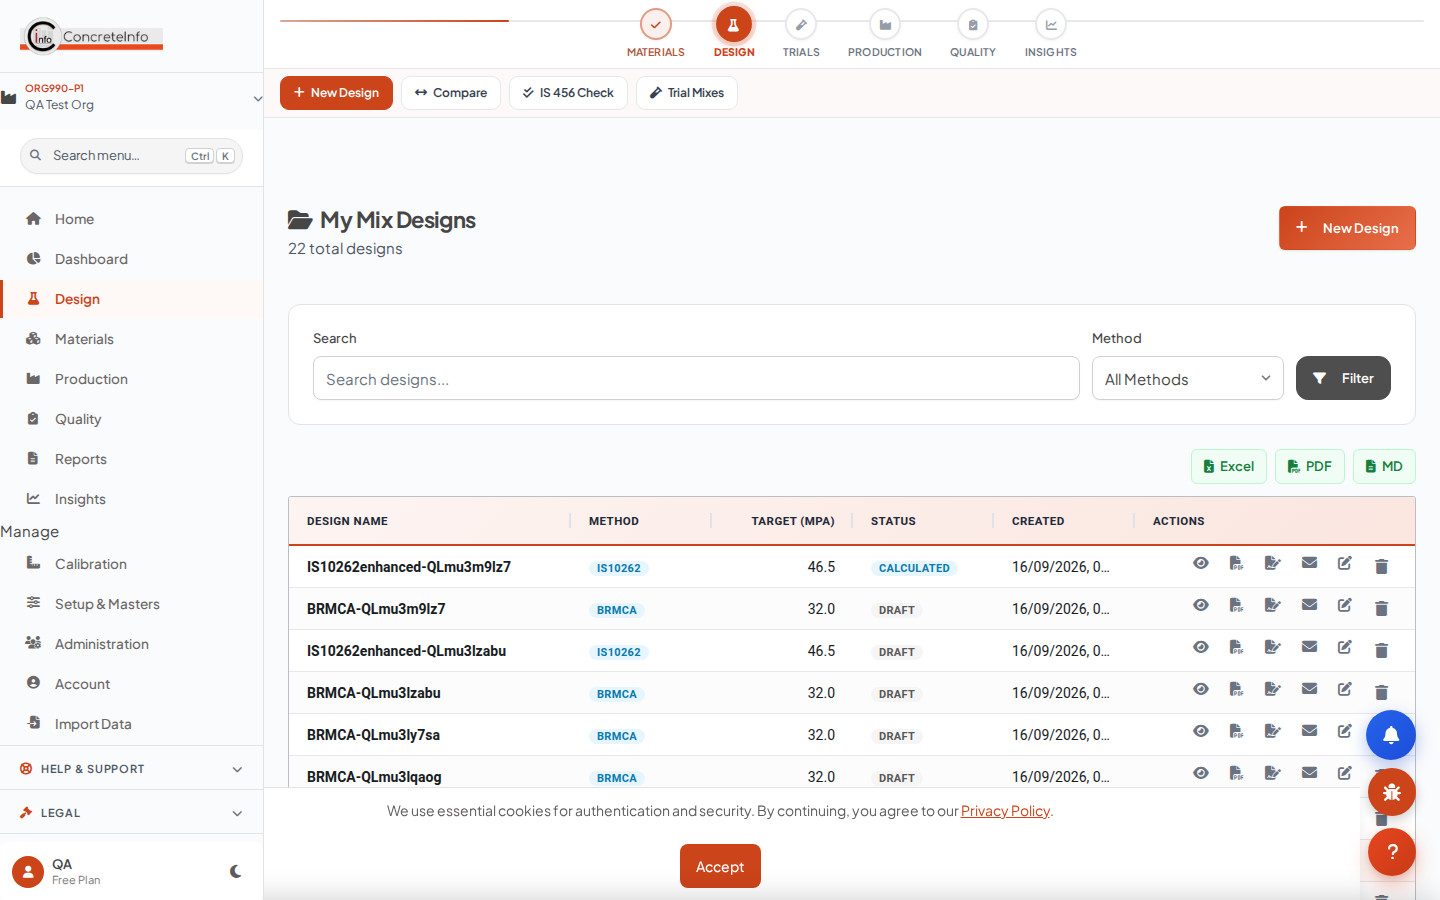
- Search by mix name, client or project.
- Open a design to view proportions, print, or export the submittal.
- Draft designs become Calculated / Verified / Approved as you progress — quality tests list non-draft designs.
Materials Library Design
Cements, SCMs, aggregates, admixtures, fibres and water — one library feeding every design, ticket and test.
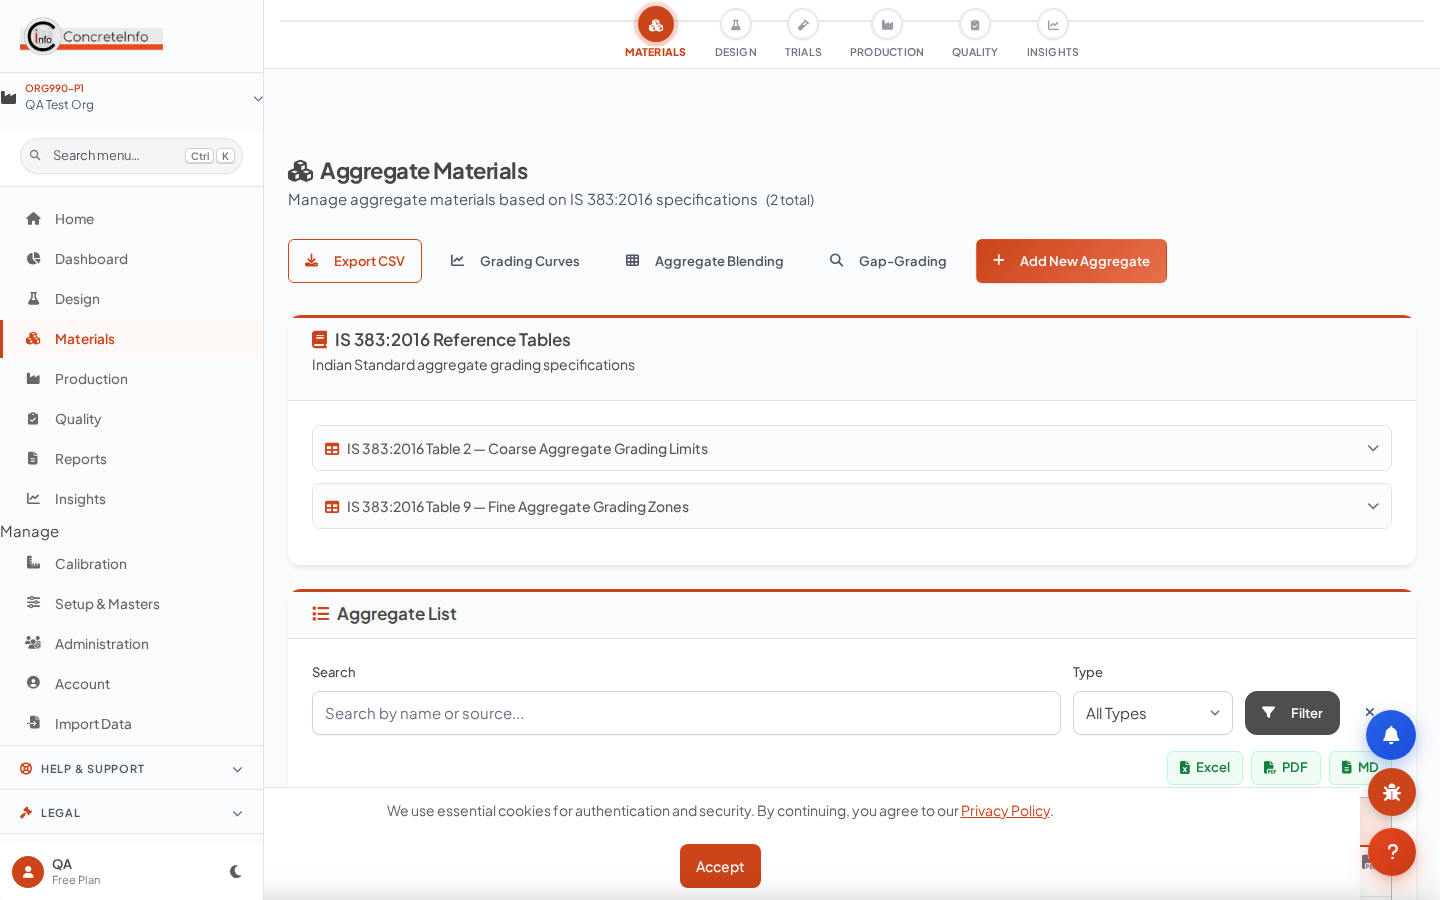
- Add a material with its properties (SG, FM, grading, moisture).
- Type a known supplier — their contact/GST card appears and the last-used source fills in.
- Upload a supplier test certificate (PDF/photo) — OCR extracts grading and properties for review.
Batch Tickets Operations
Generate a ticket from a pour: the design multiplies by volume, the plant and materials cascade in, and a QR links the ticket to the pour.
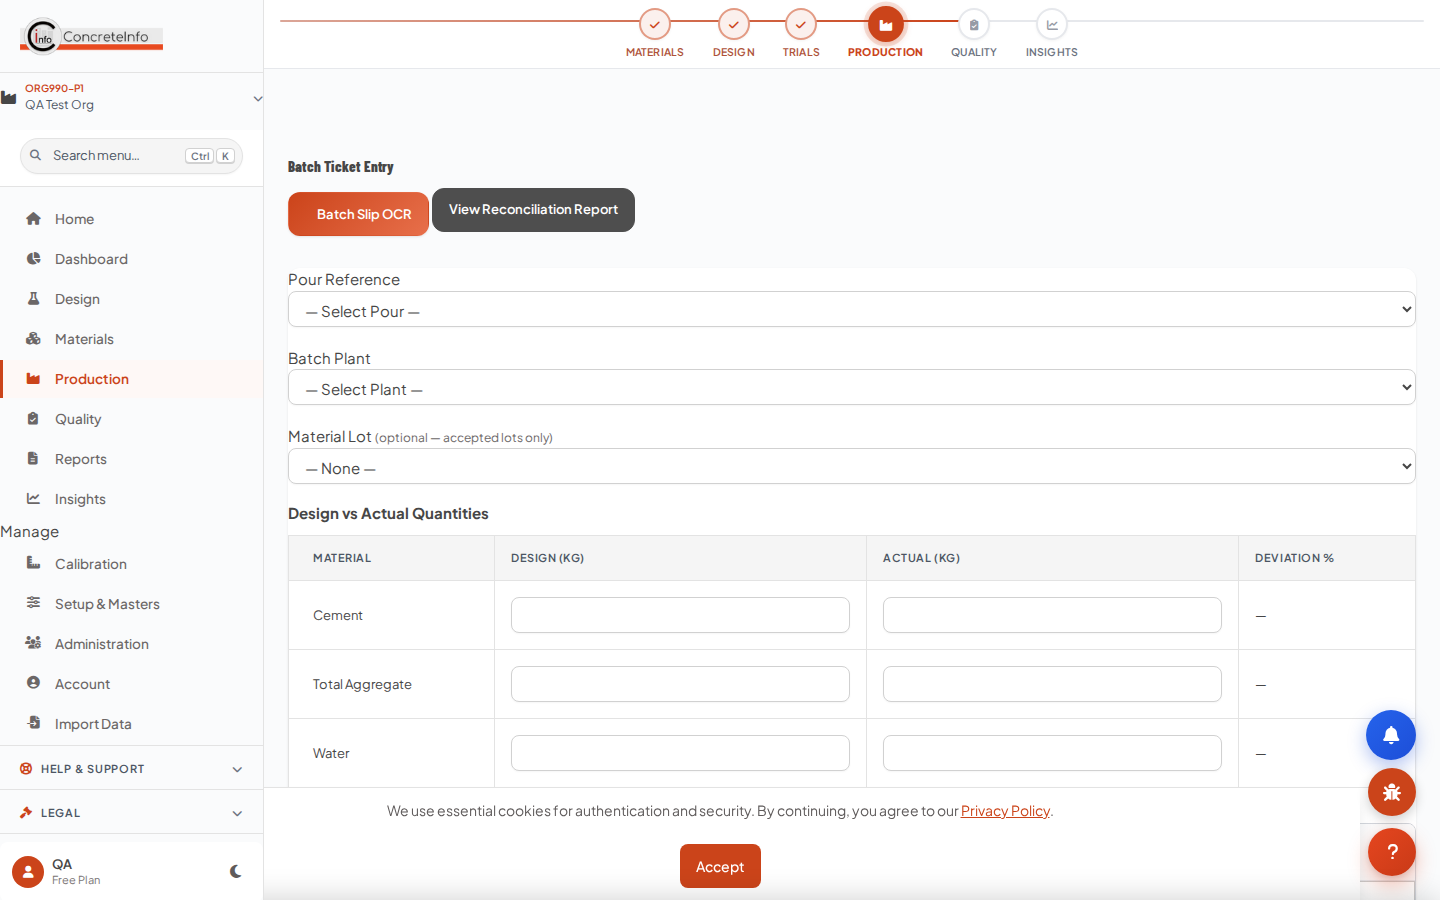
- Select the pour — client, project and design fill automatically.
- Enter the batch volume; quantities recalculate from the design.
- Print or share the ticket; scanned copies feed the pour record.
Pour Register Operations
Every pour is the anchor for its tickets, field samples, fresh tests and cubes — one pour card binds the whole trail.
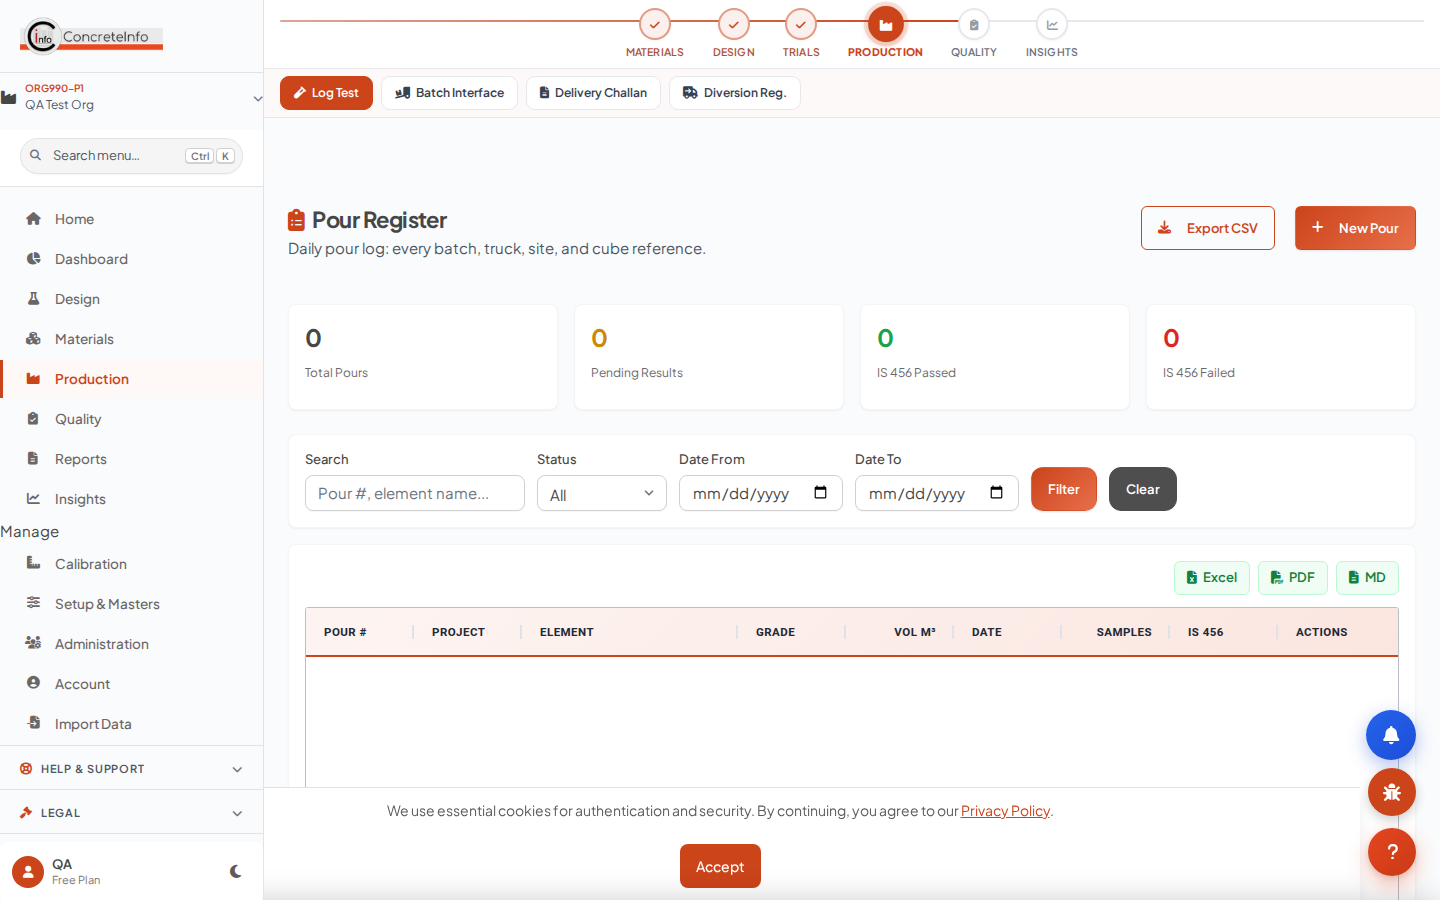
- Create the pour (or let the ticket create it) — grade and mix reference come from the design.
- Everything downstream links by pour: sampling, fresh tests, cube sets, pour cards.
- The pour card carries GPS, weather, signatures and photos from the field.
Field Sampling & Fresh Tests Quality
Register the field sample, test fresh properties at the point of placement — slump, temperature, air, density — with weather and GPS captured automatically.
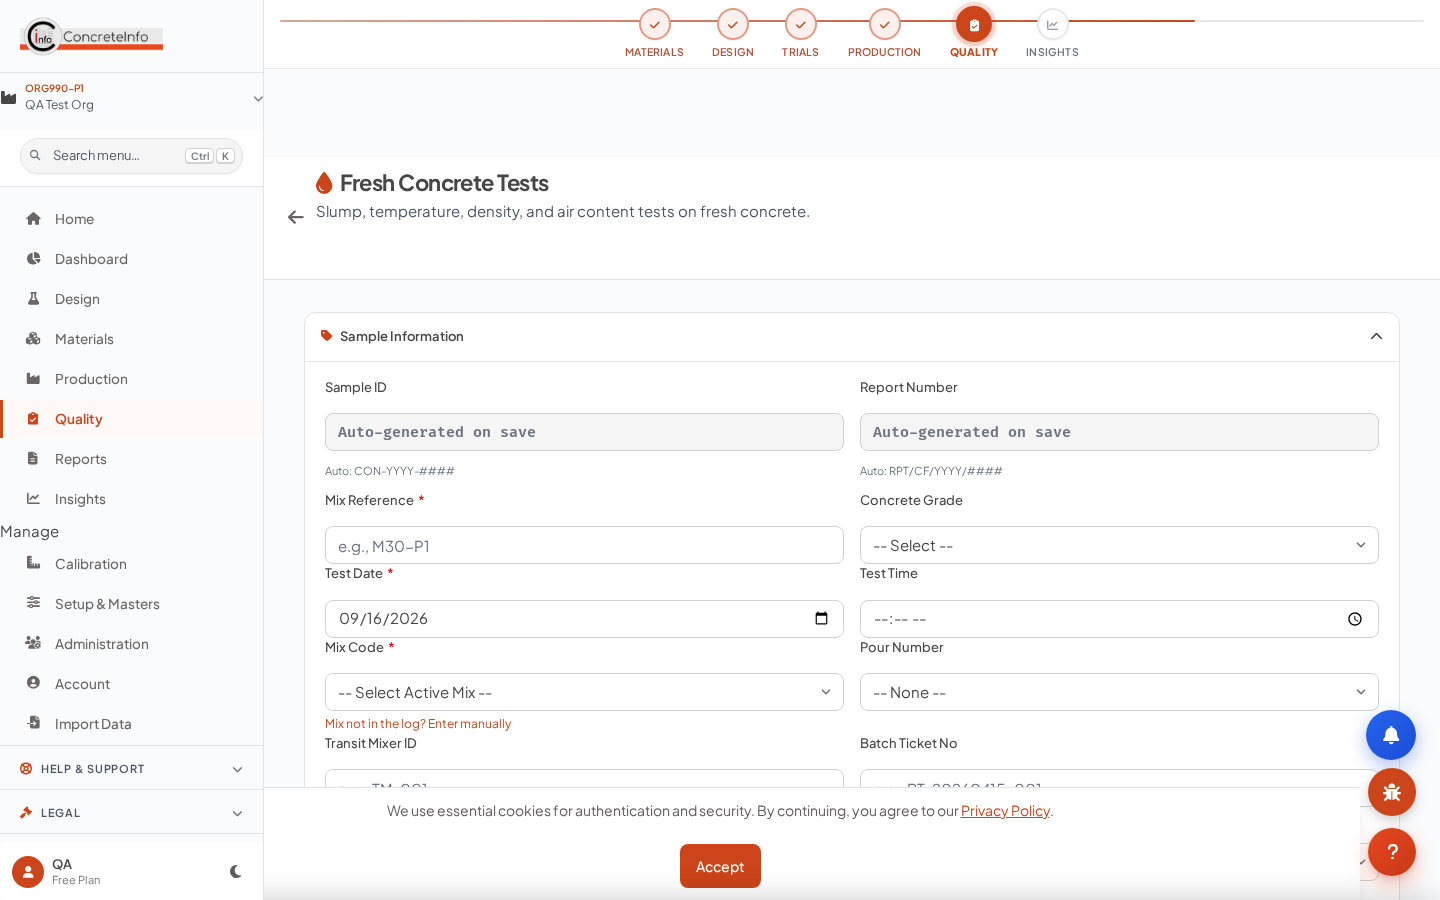
- Pick the pour — mix reference and location cascade in.
- Record fresh properties; the sample ID (SMP-…) is generated for you.
- Cube sets cast at sampling inherit everything.
Cube Casting Quality
Cast cube sets from the field sample — slump, temperature, air and density prefill from the fresh test, cast date from the pour.
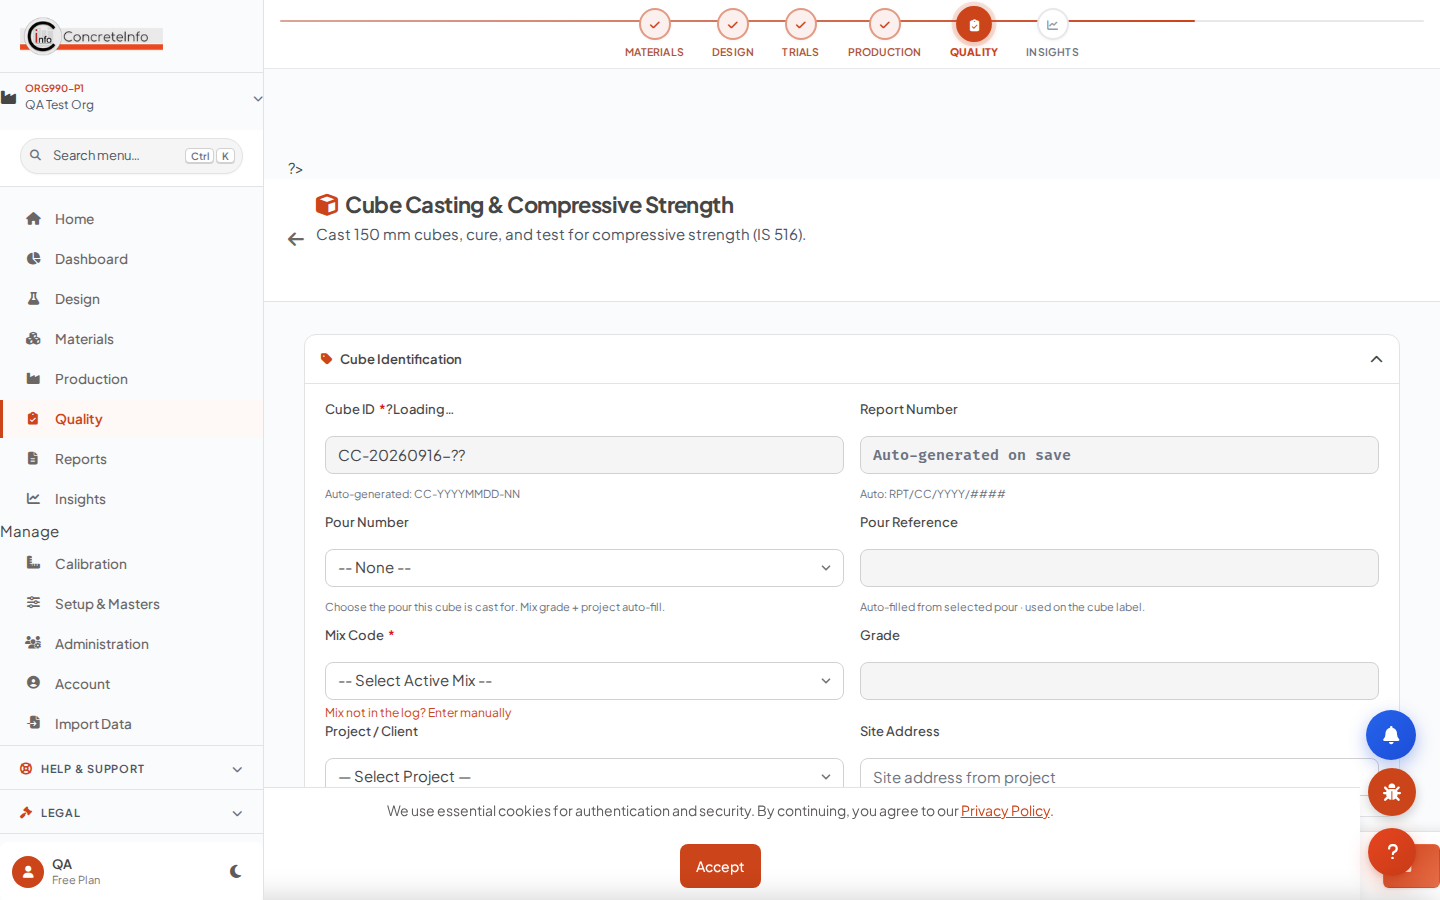
- Select the pour/sample — the prefill chip shows what was pulled.
- Enter cube count and test ages (7/28/56/90 days as required).
- Curing tank and cube IDs are tracked; the compressive test picks them up by age.
Hardened Tests — Compressive, Flexural, Split, Core, NDT Quality
Link the field sample once and the whole context follows: client, project, mix, cast date — plus the fresh properties at casting, echoed on the report.
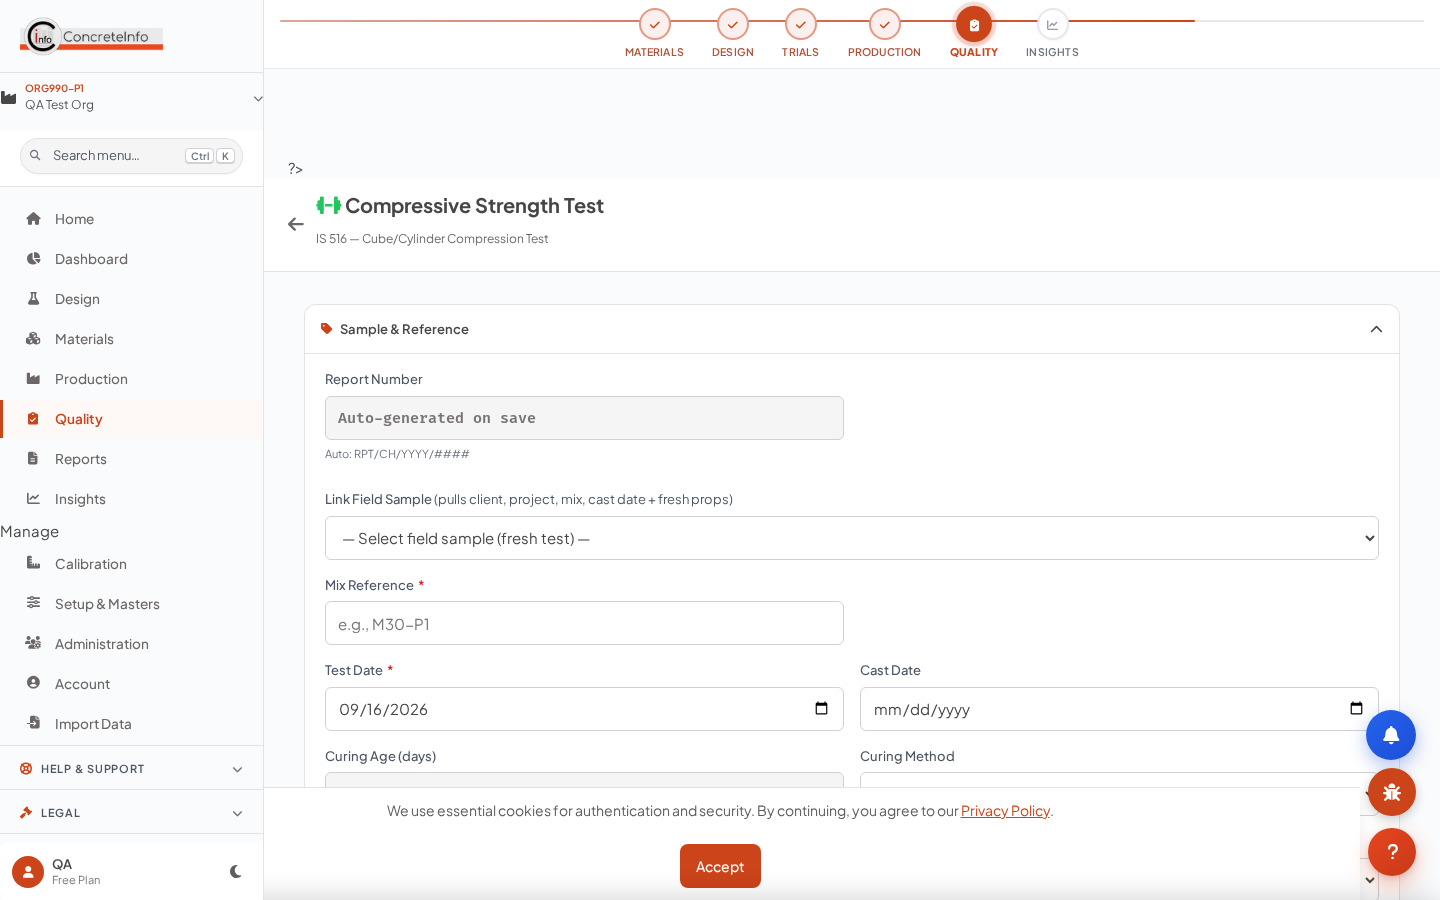
- Open the test page and pick the sample from Link Field Sample — client, project, site, mix reference, grade and cast date all fill.
- The green chip shows the fresh properties at casting (slump, temp, air, density) for correlation.
- Enter failure loads — averages, characteristic strength and IS 456 acceptance criteria evaluate automatically.
- Upload the CTM worksheet photo — OCR reads the loads into the form for review.
Reports & Exports Quality
Every test, design and ticket exports to PDF, Word or Excel; submittals bundle a design with its supporting tests.
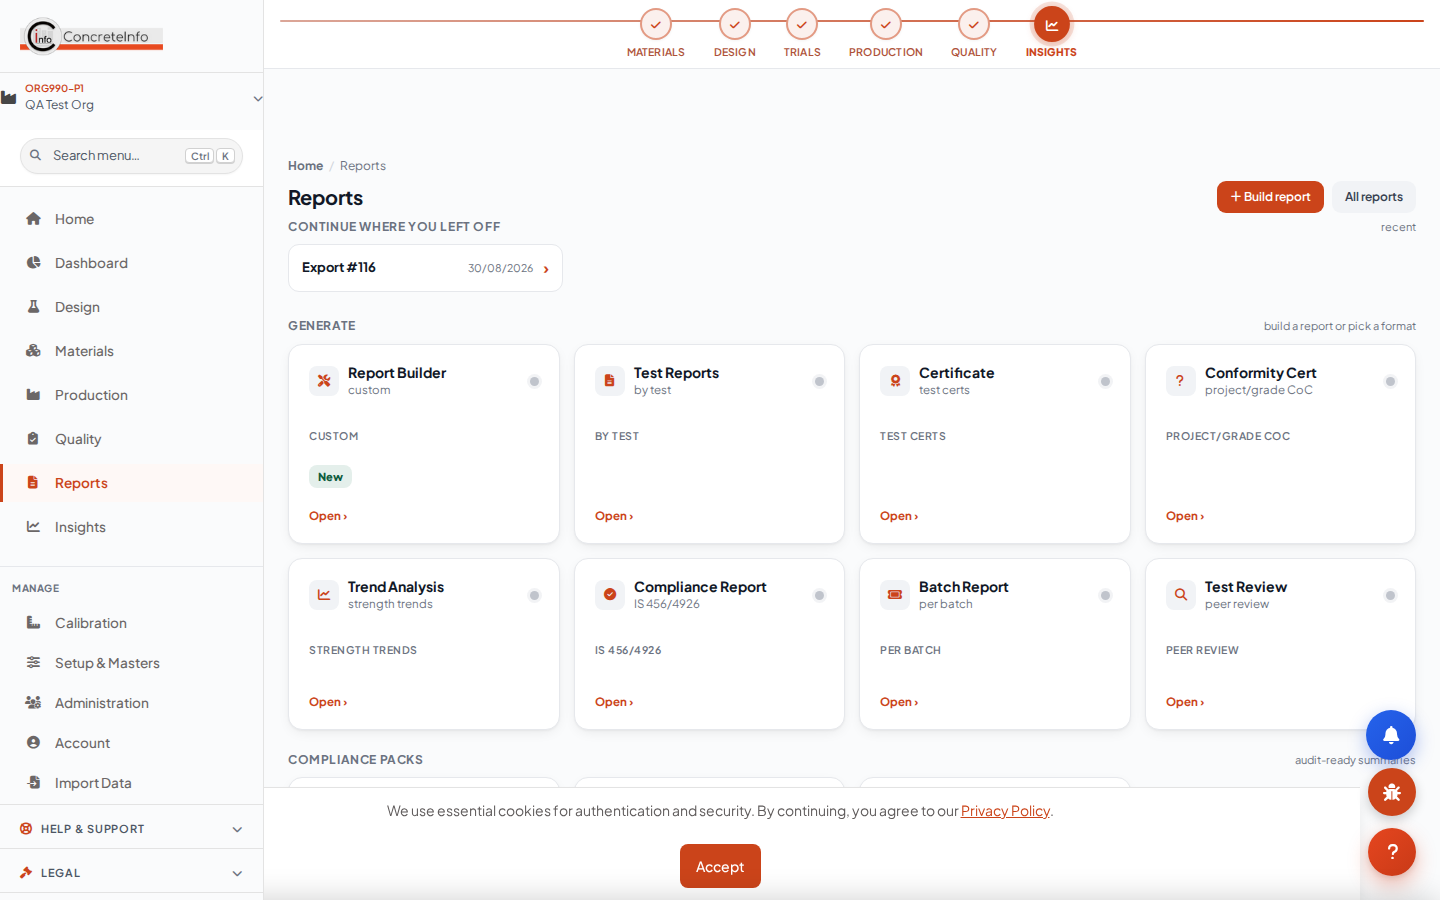
- Open any record and use the export buttons, or batch-export from the Reports hub.
- Reports carry your logo and colours (Branding, available on all paid tiers).
- Digital signatures and approval status are included on test reports.
Team, Invites & Roles Admin
The first user in an organisation is its Super Admin. Invite teammates by email link — same-domain colleagues are discovered automatically. Each invited user runs their own subscription.
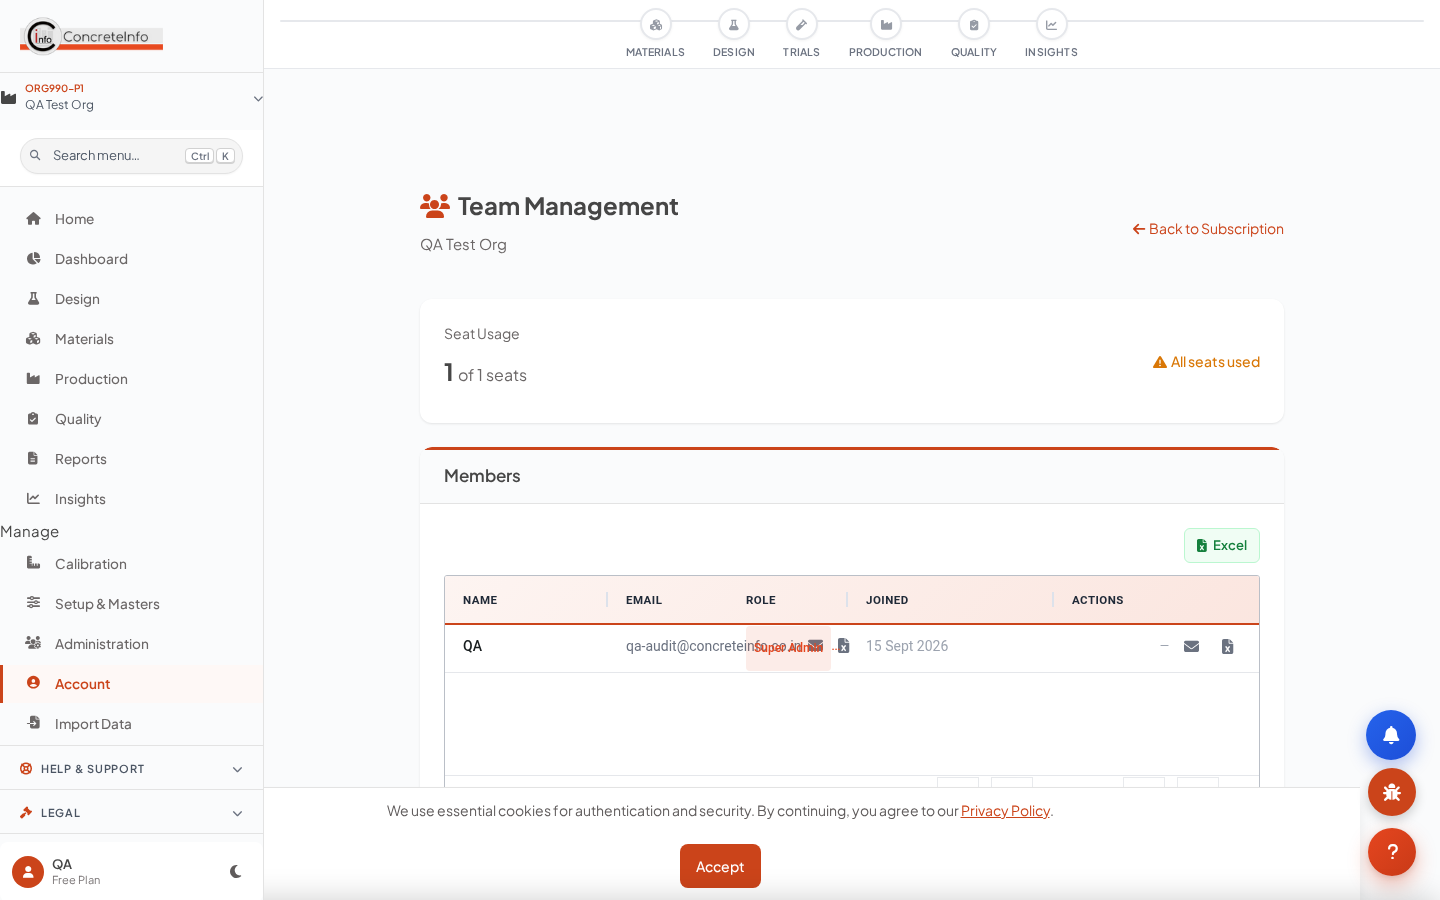
- Open Team (Account) — same-domain candidates appear automatically.
- Send an invite link (valid 7 days); the invitee signs up straight into your organisation.
- Assign roles: Super Admin, Manager, Engineer, Technician, Viewer.
End-to-End Workflow Reference
The CMDApp principle: enter once, pull everywhere. The chain below is the whole product — each step hands its data to the next.
Client / Project → RMC Spec → Mix Design → Trial Mix → Batch Ticket → Pour → Field Sample → Fresh Test → Cube Casting → Hardened Tests → Reports.
| Stage | Entered once | Pulled downstream |
|---|---|---|
| Setup | Client, project, site address | Every form, ticket, report |
| RMC Spec | Grade, exposure, w/c, slump | All calculators |
| Mix design | Proportions, materials | Trials, tickets, tolerance checks |
| Pour | Element, volume, location | Tickets, samples, cubes |
| Field sample | Fresh props, weather, GPS | Cubes, hardened tests, reports |
FAQ & Troubleshooting Reference
The questions support hears most.
Why is a calculator field already filled?
That is the RMC spec pull — the green chip names the source (plant / customer / project spec) with an edit link. Saving the design keeps those values.
The Link Field Sample dropdown is empty.
It lists the 40 most recent field samples (fresh tests) for your organisation. Cast/log a fresh test first.
I cannot create another plant.
Your tier limit is reached — the meter on My Plants shows usage. Upgrade from the button there or from Subscription.
My design does not appear in quality tests.
Test pages list designs in Calculated / Verified / Approved status. Open the design and mark it calculated first.
Exports print without our logo.
Set it once in Account → Branding (all paid tiers). Report and e-mail footers always carry the standard ConcreteInfo matter.
Login fails after several tries.
The rate limiter locks the account briefly after repeated attempts — wait a few minutes or reset your password.
Glossary Reference
Common terms used across CMDApp.
| Term | Meaning |
|---|---|
| RMC | Ready-Mixed Concrete — batched at a plant, delivered to site. |
| IS 10262:2019 | Indian Standard concrete mix proportioning guideline. |
| IS 456:2000 | Indian Standard code of practice for plain and reinforced concrete (Table 5 sets durability limits). |
| w/c ratio | Water–cement ratio by mass — the primary durability control. |
| NCR / CAPA | Non-Conformance Report / Corrective & Preventive Action. |
| CTM | Compression Testing Machine. |
| SCC | Self-Compacting Concrete (EFNARC classed by slump-flow, T500, V-funnel, L-box). |
| TMS | Target Mean Strength — characteristic strength plus statistical margin (1.65 × s). |
| Spec default | The standard RMC property form saved per plant / customer / project. |
Deployment & Licensing Options
Cloud SaaS or enterprise deployment — per-user plans sized by plant count. Annual billing gives 12 months for the price of 10.
Ready to Get Started?
7-day free trial with full access. No credit card required.